
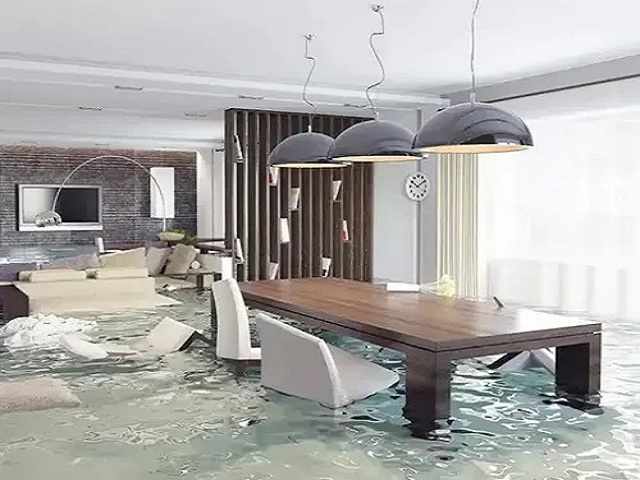
Flood damage is extremely overwhelming to handle. One minute everything is okay at home, the next bam! You have water up to the ankle. Flooding is not funny, whether it comes as a result of flash rains, a burst pipe, or an overflowing sewer line. Nevertheless, relax, and here is a simple one-step-by-step checklist of flood restoration that will take you all the way through the wet carpets and towards a completely restored and safe house.
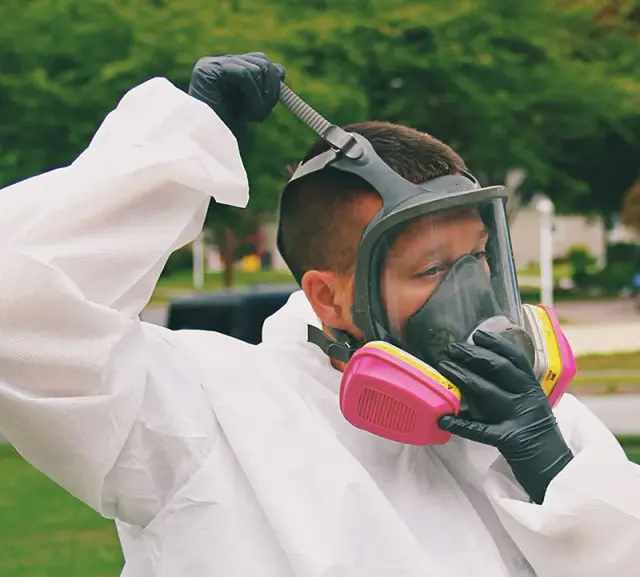
1. Stay Safe First
Dive into the process of flood cleanup only after you are sure it is safe to enter your home. Turn off the electricity (when the water is high, in particular), and wear protective equipment: rubber boots, gloves, and a face mask. In case the flooding has been substantial, one ought to wait until professional services specializing in flood restoration services of flooding conditions declare the situation safe.
2. Call Your Insurance
Immediately get in touch with your home insurance. Take pictures and videos of the water damage, and do all documentation prior to going into the cleanup. This makes the claim process easier. Do save any of these receipts in case you need to purchase emergency provisions or services of a cleanup crew.
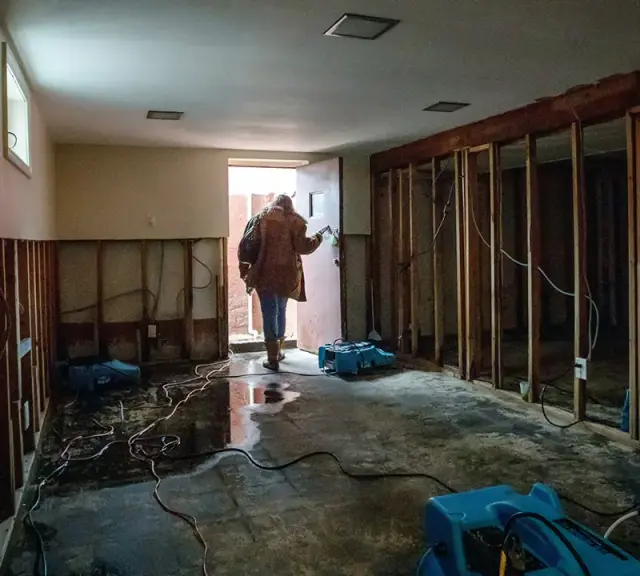
3. Remove Standing Water ASAP
Standing water is never good. The longer it remains, the more harm it does. Buckets, mops, wet/dry vacs, or whatever it takes to get that water out fast. Some jobs could be too big and would require the assistance of flood restoration services with professional-grade pumps and vacuums.
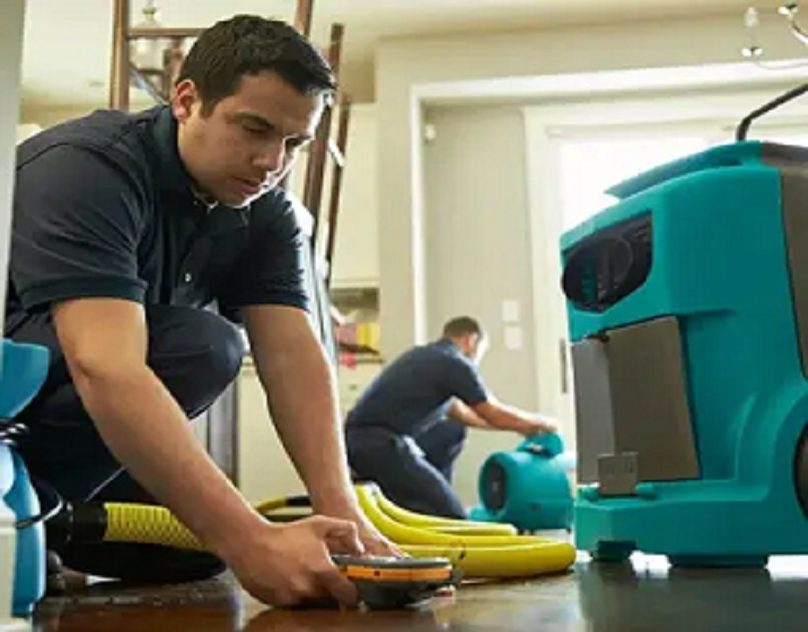
4. Dry and Ventilate
When the standing water is cleared up, everything should be dry. Keep the windows and doors open, and turn on fans and the dehumidifiers. There could be moisture trapped in walls and floors, which may make them prone to mold, and this is not something that you want to avoid. Keep ventilating for two or three more days even after it is ready, as it appears to be dry.
5. Flood Cleanup Time
It is now time to do the deep clean. Flooding water may be contaminated with bacteria, chemicals, and even sewage, so disinfect all surfaces, floors, walls, furniture, and all items that were wet. Throw out anything that cannot be sanitized through cleaning, such as wet carpets and broken mattresses. Flood cleanup is a serious part of protecting your health and your home.
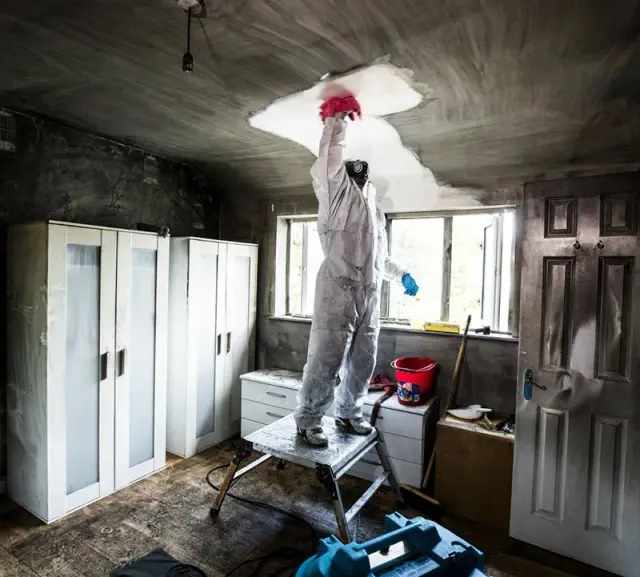
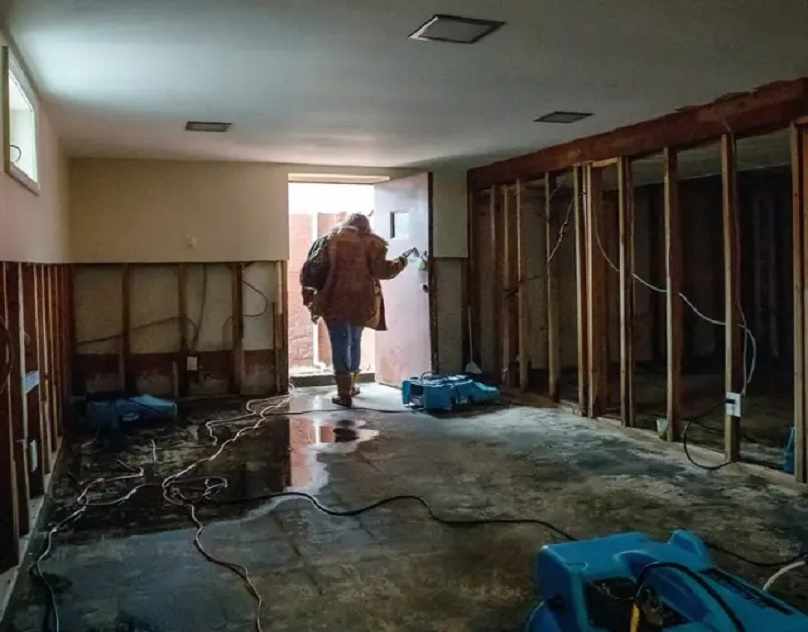
6. Inspect and Repair
Once that cleanup is done, it is time to get to the real thing of flood repair. Inspect the interior and exterior engineering for such things as cracks in the foundation or warped wood. Check the presence of mold or mildew. Repair and replace drywall, walls, and floor coverings if necessary. When the damaged part is like the water damage repair is too much to be managed, then look at the people who offer flood restoration services.
7. Prevent It from Happening Again
When you have a repaired home, consider how you will secure it in the future. Plug cracks in your seals, use sump pumps, waterproof your basement, and think of elevating the electrical outlets higher above the ground. Someone with a little preparation work goes a long way in reducing the future damage caused by flooding.
Final Thoughts
When one needs to cope with a flooded home, it is nerve-wracking, but a clear plan can help a lot. The difference between the initial scoop of water and the final nail that has been hammered down is following a proper checklist built into flood restoration. In case you are doing it yourself or have called in a professional flood restoration, do not assume that every step is taken care of. Adequate flood cleanup, extensive water damage cleanup, and intelligent flood repair efforts will get your home back to normal in the blink of an eye.


Write a comment ...